Required level: intermediate to advanced · Estimated duration: 2 to 3 weekends · Wood thickness: 2 cm minimum
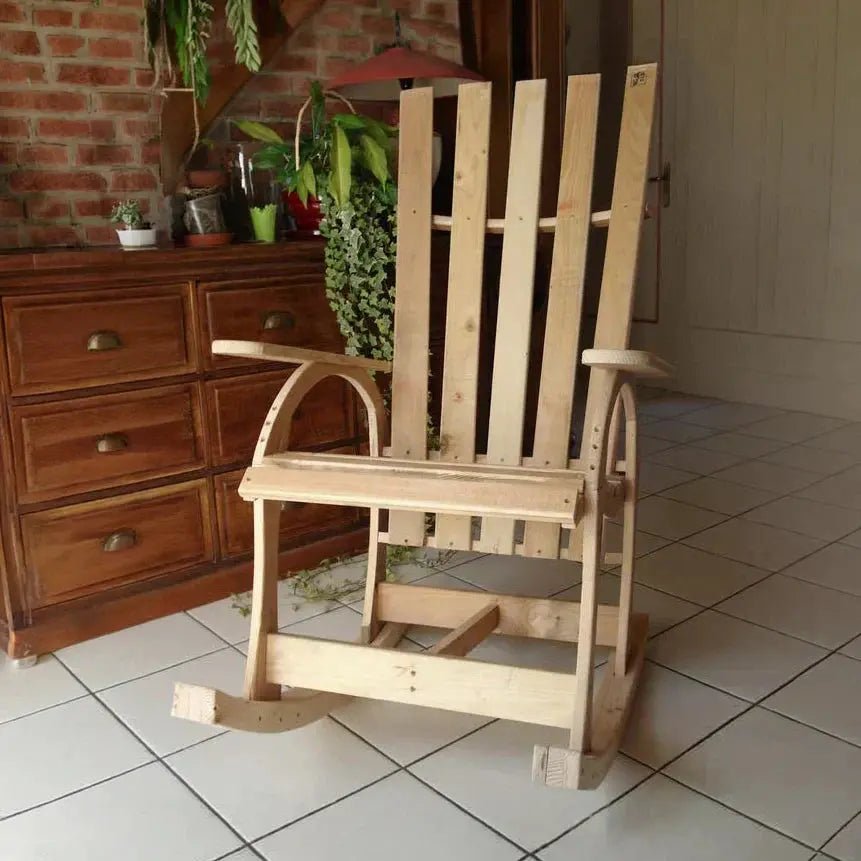
Building a wooden rocking chair is a woodworking and cabinetry project that is as rewarding as it is demanding. Whether you're a DIY enthusiast or an amateur woodworker, building your own natural wood rocking chair allows you to create a unique, durable wooden furniture piece that is perfectly suited to your body shape and sitting comfort.
In this comprehensive guide to making wooden furniture, you'll discover how to build a rocking chair step by step, with precise plans, detailed dimensions for each piece, and essential tips to avoid common mistakes.
This tutorial is based on real, dimensioned, and proven plans. Each piece is detailed with its exact dimensions, shape, and critical points that make the difference between a solid chair—with a good quality/durability ratio—and one that creaks after three weeks.
Important note before starting: all planks used must be at least 2 cm thick. Below this, you run a real structural risk in high-stress areas (runners, legs, seat supports).

Tools needed to build a rocking chair
You don't need a professional workshop, but a minimum of tools is essential. Here's what you need before you start cutting.
Cutting and shaping tools
- Bandsaw or electric saw, essential for accurately cutting the curves of the runners
- Circular saw or table saw for straight cuts
- Hand saw for occasional manual cuts
- Planer for surfacing and adjusting thickness
- Router for grooves, moldings, and joinery
Consumables and hardware
- Bandsaw blades suitable for hardwoods (carbide recommended for oak and teak)
- Sandpaper and abrasives: 80, 120, 180 grit, then fine grit for finishing
- Stainless steel or zinc-plated screws depending on indoor or outdoor use
- Quality wood glue for joining
Assembly tools
- Cordless drill/driver
- Wooden mallet
- Clamps (plan for more than you think you need, there's always one missing when tightening)
Finishing
- Orbital sander for final polishing
- Oil, wax, or varnish depending on intended use – indoor, sunroom, or garden furniture
Choosing the wood: solid or plywood?
This is the most important decision for your manufacturing project. For structural parts—legs, runners, frame, seat, and back supports—solid wood is essential. It withstands the repeated stresses of rocking better than any other material.
Plywood can be suitable for seat and back slats, provided you choose a fine, well-sanded quality suitable for indoor use.
Recommended wood species depending on use:
- Oak (oak wood): the hardwood par excellence, robust and durable, ideal for the frame and legs
- Ash: excellent for runners due to its natural flexibility and resistance to repeated impacts
- Teak: exotic wood naturally resistant to weathering, perfect for a sunroom or wooden patio rocking chair
- Birch or pine: softwood or tender wood, more accessible, good for a first indoor project
- Mahogany or walnut: noble wood species for a high-end aesthetic result
- Glued laminated timber: a good alternative for long parts like backrest slats – stable, wear-resistant, easy to machine
💡 Buy dry wood (moisture content < 12%). Raw wood that is too green will deform during drying and affect all your glued joints. Proper pre-drying is half the battle.
Complete list of parts for a wooden rocking chair
Here are all the parts needed to build your rocking chair and create a complete seat and backrest structure:
| Part | Qty | Main dimensions | Shape |
|---|---|---|---|
| Runner | ×6 | 85 × 6 cm (min. 3 cm in center) | Concave curve |
| Leg | ×4 | 55 cm height, 10 cm width | Beveled profile |
| Seat slat | ×5 | 50 × 5 cm | Straight |
| Backrest slat | ×5 | 105 × 7 cm | Straight |
| Seat support | ×2 | 60 × 10 cm (4 cm central recess) | Slight curve |
| Armrest | ×2 | 60 × 20 cm (useful part 55 cm) | Front beveled |
| Armrest support | ×2 | 55 × 20 cm (4 cm central recess) | Slight curve |
| Lower brace | ×2 | 50 × 8 cm | Slightly curved |
| Upper backrest brace | ×1 | 60 × 10 cm (4 cm recess) | Curved |
| Central backrest support | ×1 | 50 × 7 cm (beveled edges 2.5 cm) | Slightly convex |
| Lower backrest support | ×1 | 50 × 5 cm (beveled edges 2.5 cm) | Beveled |
Detailed plans of the rocking chair parts
Each piece of raw wood must be carefully traced before cutting. For all curved shapes, make a template from thin plywood; you'll need to produce two identical pieces, so save time by batch machining.
Runner ×6
The centerpiece of the project. Its concave curve determines the fluidity of the rocking motion. The six runners must be rigorously identical—use a single template for all of them. After sawing, gradually polish the edges with sandpaper until you achieve a perfectly regular surface, without any protrusions or flat spots. The sawdust produced at this stage indicates that you are working with the grain.
- Perfectly symmetrical curve
- Width 5 cm
- Perfectly sanded surface
⚠️ Warning: asymmetry = unstable rocking

Leg ×4
Beveled on the upper part to ensure the lateral stability of the wooden structure. The 4 legs must be strictly identical—mark them front/back immediately after cutting, as they are not interchangeable.
- Beveled on the upper part
- Ensures lateral stability
⚠️ Warning: the 4 legs must be strictly identical

Seat support ×2
Slightly curved for a comfortable seating height adapted to the body shape. Bears most of the weight. The plan specifies that it can be straight for those who might find it difficult to cut the curve.
- Slightly curved to improve ergonomic comfort
- Supports main weight

Seat slat ×5
Space them 1 to 1.5 cm apart. Carefully sand the edges with fine-grit sandpaper—these are the surfaces in direct contact with the user. The seat and backrest form a cohesive unit that dictates the overall comfort of the wooden furniture.
- Spacing: 1 to 1.5 cm
- Thoroughly sand the edges

Backrest slat ×5
Dry wood is mandatory—whether you choose hardwoods or softwoods. Check the straightness of each slat before cutting: a crooked piece in the backrest cannot be corrected once glued.
- Dry wood mandatory
- Must be perfectly straight

Armrest ×2
The front is beveled downwards; this detail is both aesthetic and functional. Carefully sand the upper edges, as they are in direct contact with the forearms.
- Beveled front
- Optimizes arm comfort

Armrest support ×2
Slight upward curve in the center to compensate for the natural bending of the wood under the weight of the arms.
- Slight upward curve
- Compensates for wood deflection

Lower brace ×2
Absorb lateral forces with each rock. Choose a hard solid wood for these pieces; this is not the place to skimp on material.
- Lateral stability
- Significant mechanical stresses

Upper backrest brace
The beveled edges allow for a precise right-angle assembly with the uprights. A wrong angle here = unstable backrest from the first use.
- Holds the slats
- Arc shape

Central backrest support
Middle crossbar of the backrest. The beveled edges allow for a precise angled assembly with the uprights, which ensures the rigidity of the entire backrest.
- Beveled edges
- Precise angled assembly

Lower backrest support
Base of the backrest, it rests on the seat. The 3 cm heel at the bottom serves as an anchor point for the backrest in the structure; do not neglect it, as it bears the pushing forces on the back.
- 3 cm heel
- Backrest anchor point
⚠️ Critical point: wrong angle = unstable backrest

Steps to build a rocking chair
Step 1 - Assemble the two sides independently Legs + seat support + armrest support + armrest + 3 runners, side by side. Check for squareness, glue, and let dry for 24 hours under clamps.

Step 2 - Connect the wooden structure The lower braces ensure transversal rigidity. Check for plumb—correct now, not later.

Step 3 - Install the seat slats 5 slats, regular spacing (~1.2 cm), screw from underneath if possible to maintain visible finishes.

Step 4 - Assemble the backrest Assemble the backrest flat (lower support → slats → central support → upper brace) before attaching it to the frame. This is much simpler and more precise.

Step 5 - Polishing and finishing Sandpaper grit 80 → 120 → 180 → fine grit for final polishing. Dust off between each pass. Apply your treatment in at least 2 coats. For indoor use or a Scandinavian-style interior, natural oil perfectly enhances natural wood. For use in a sunroom or indoor and outdoor, opt for a weather-resistant stain.
💡 Tip: Test the rocking motion empty before finishing. If the chair leans to one side, adjust the runners with a sander.
Different possible models
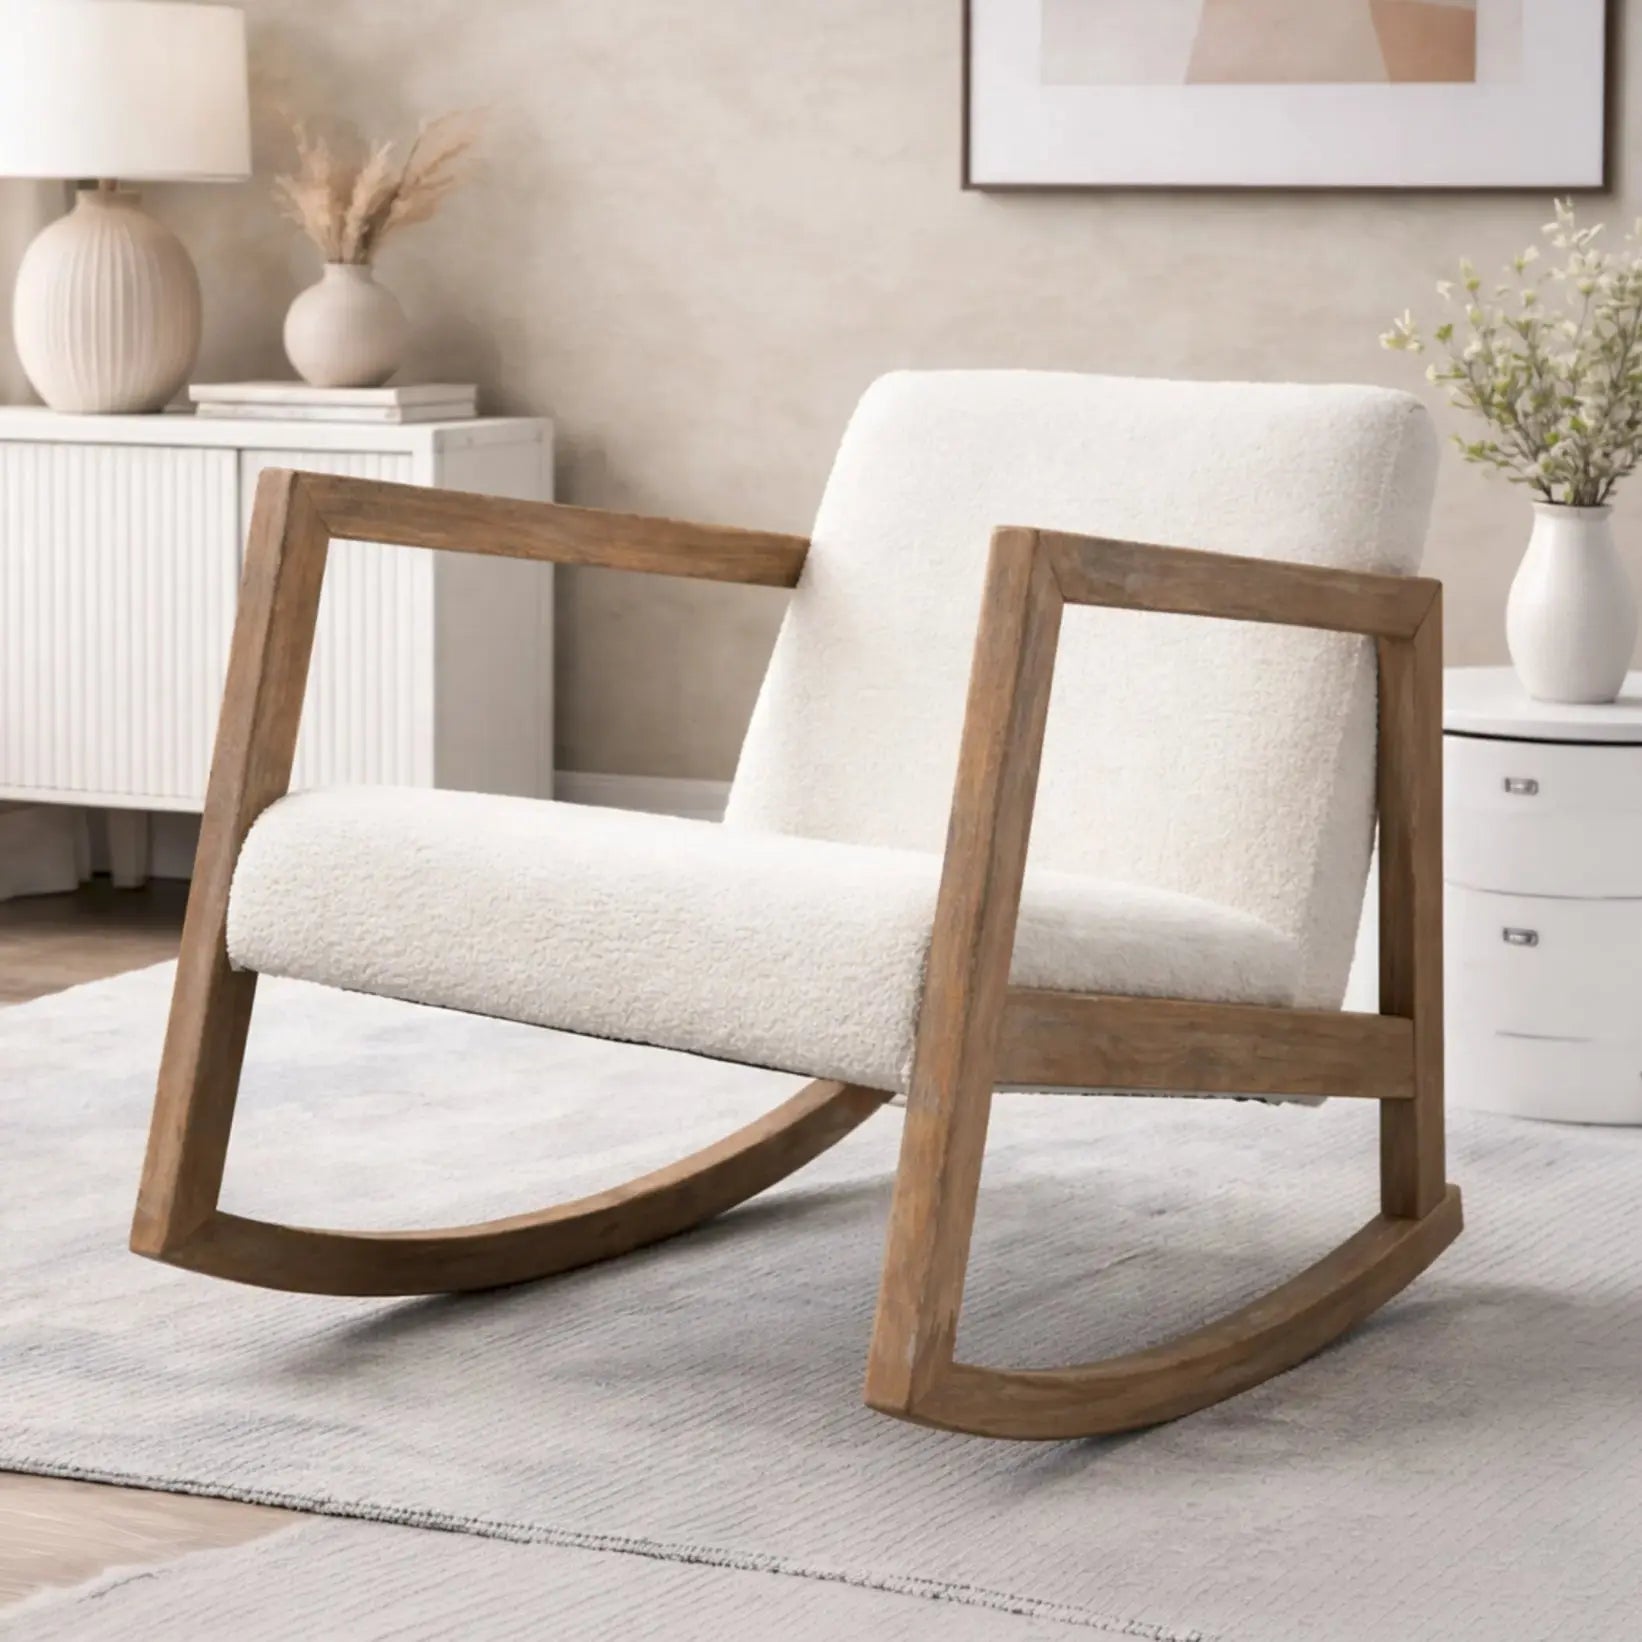
The plan presented corresponds to an Adirondack-style model, with a high slatted backrest and generous seat. But there are different rocking chair models to build according to your taste:
- Classic slatted model (this tutorial): ideal for beginners in wooden furniture making
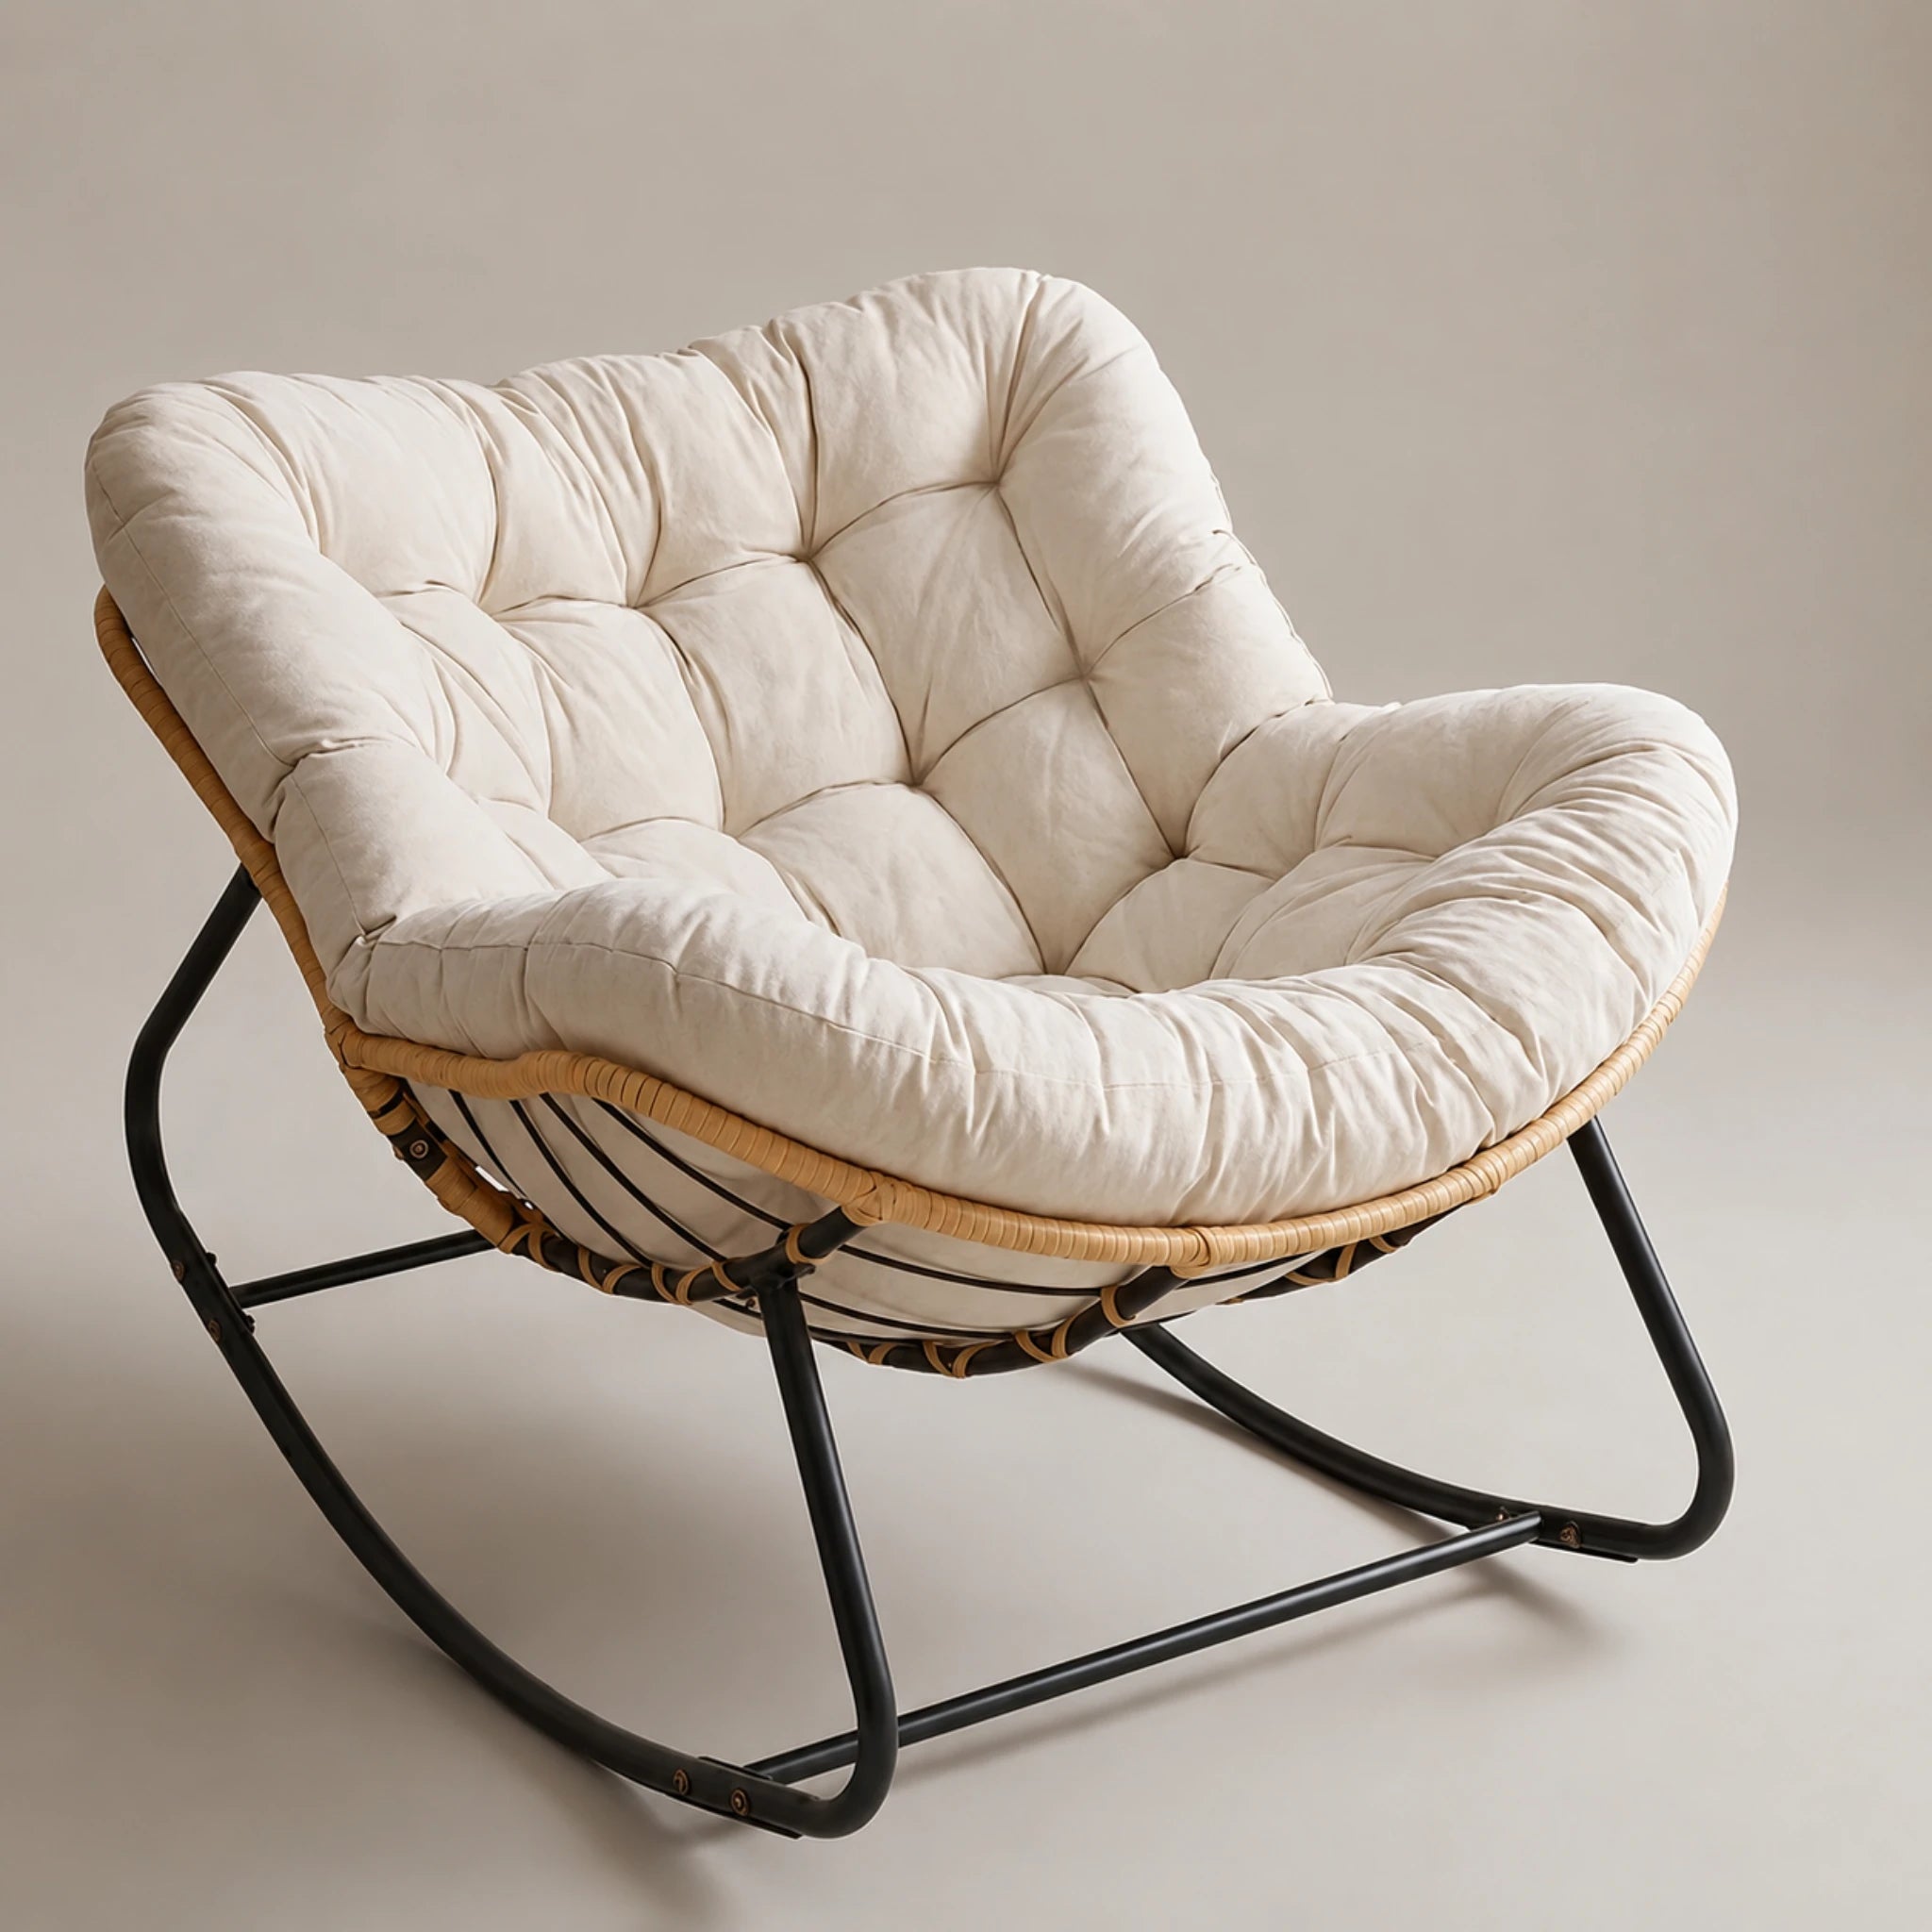
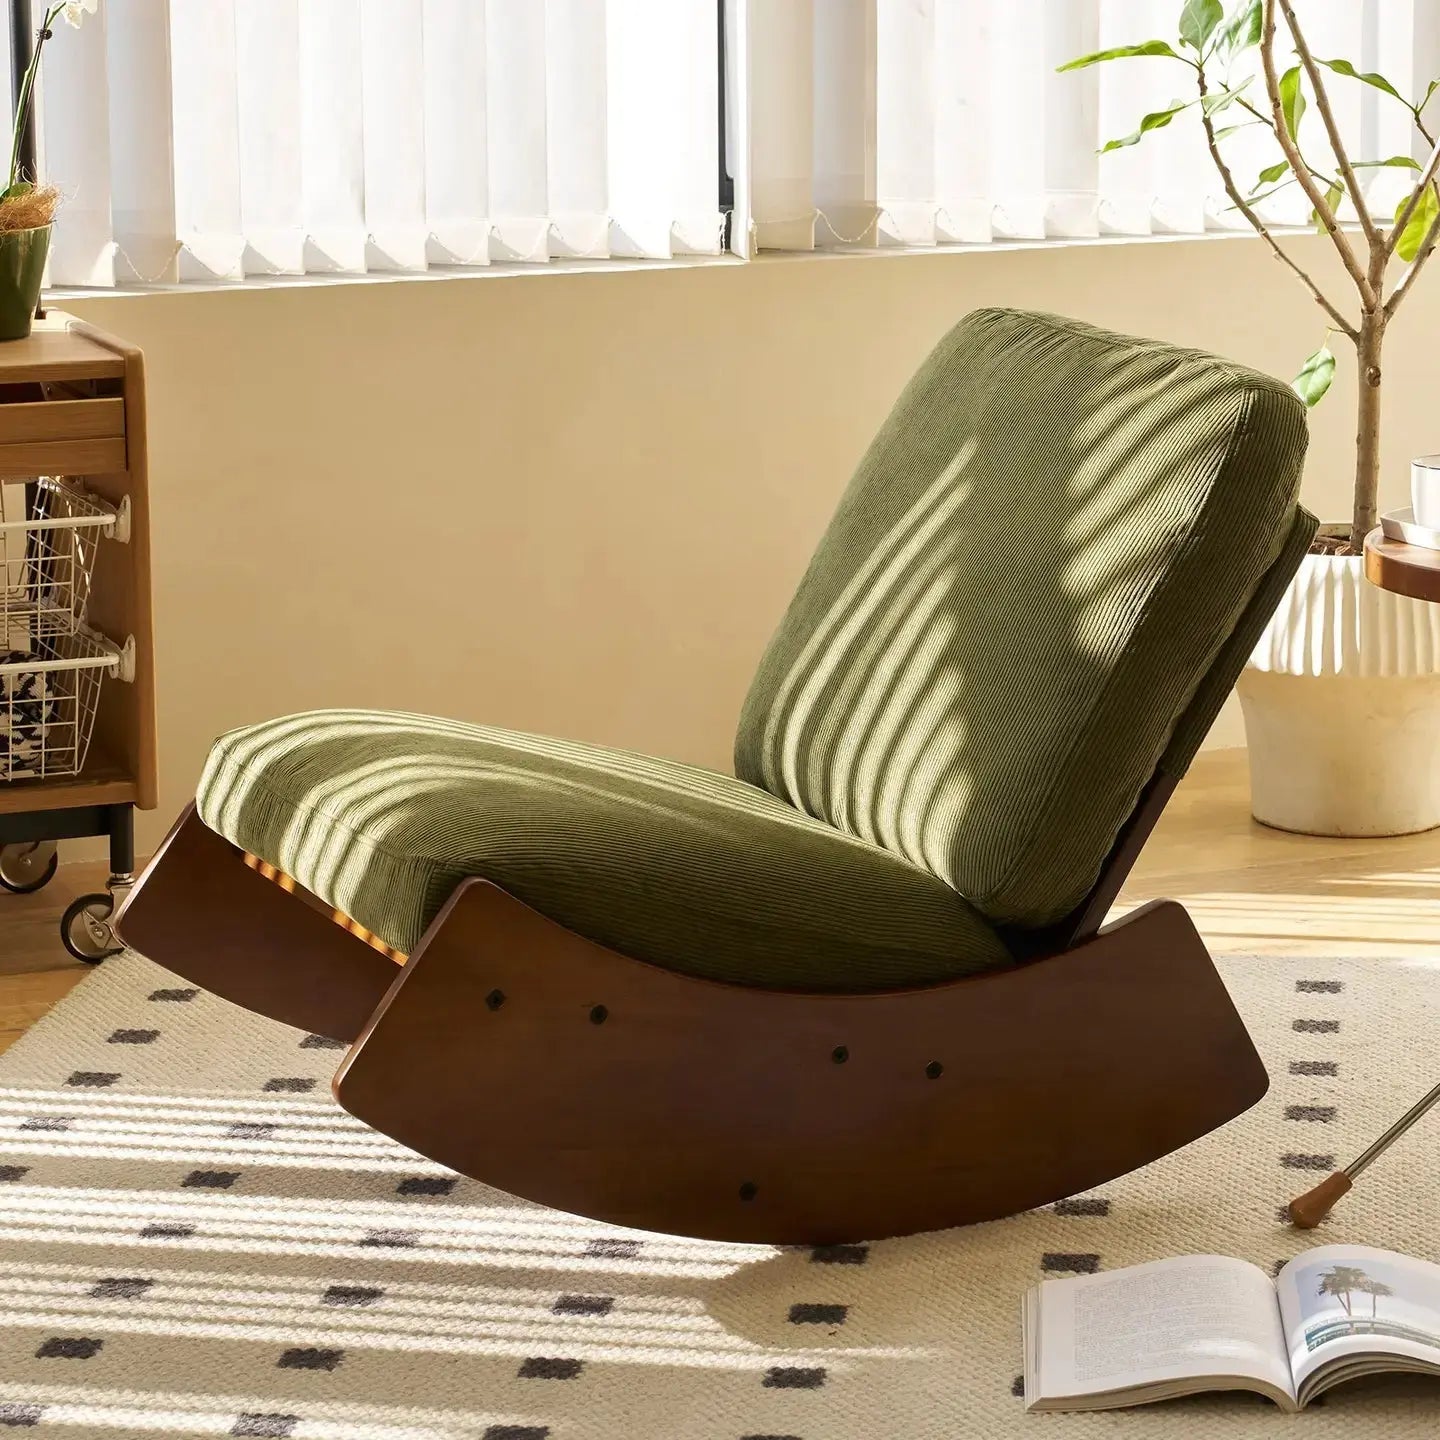
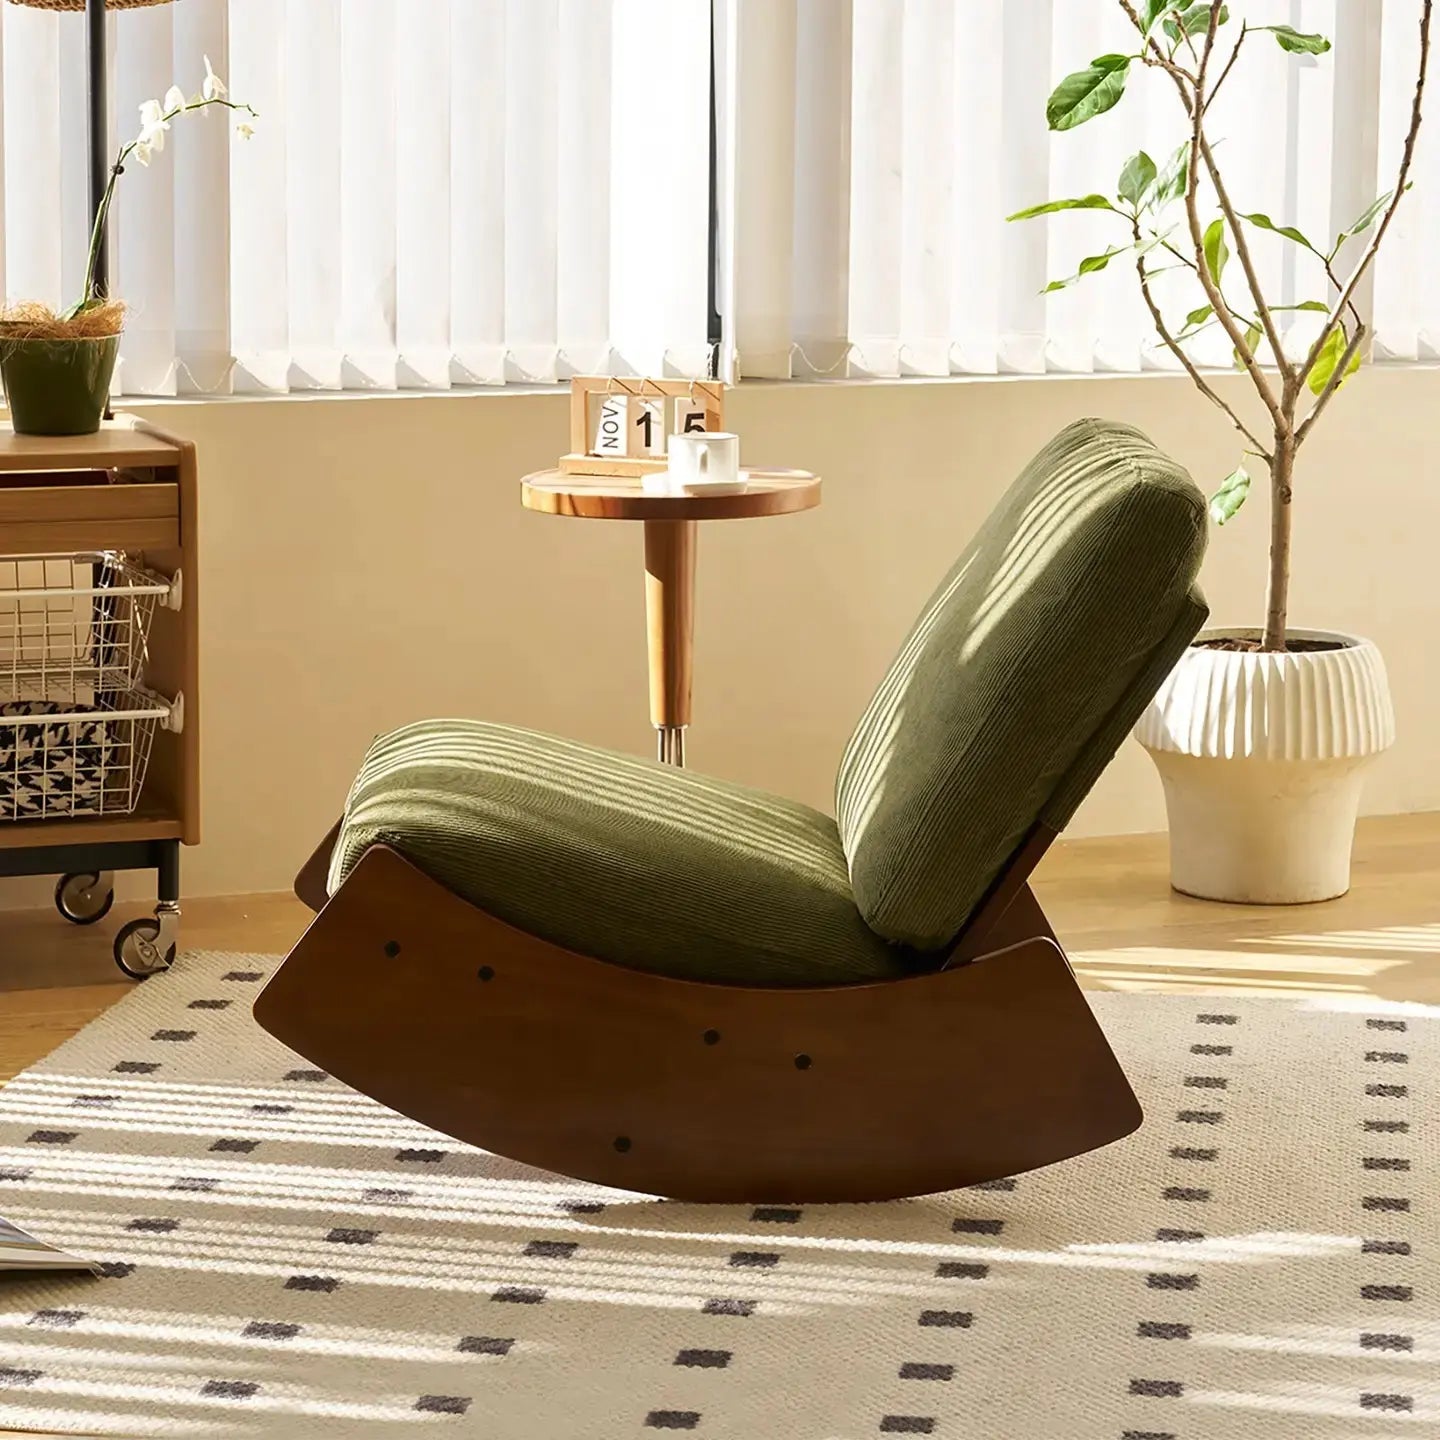
- Scandinavian style model: clean lines, light natural wood (birch, ash), seat with removable cushion for extra comfort
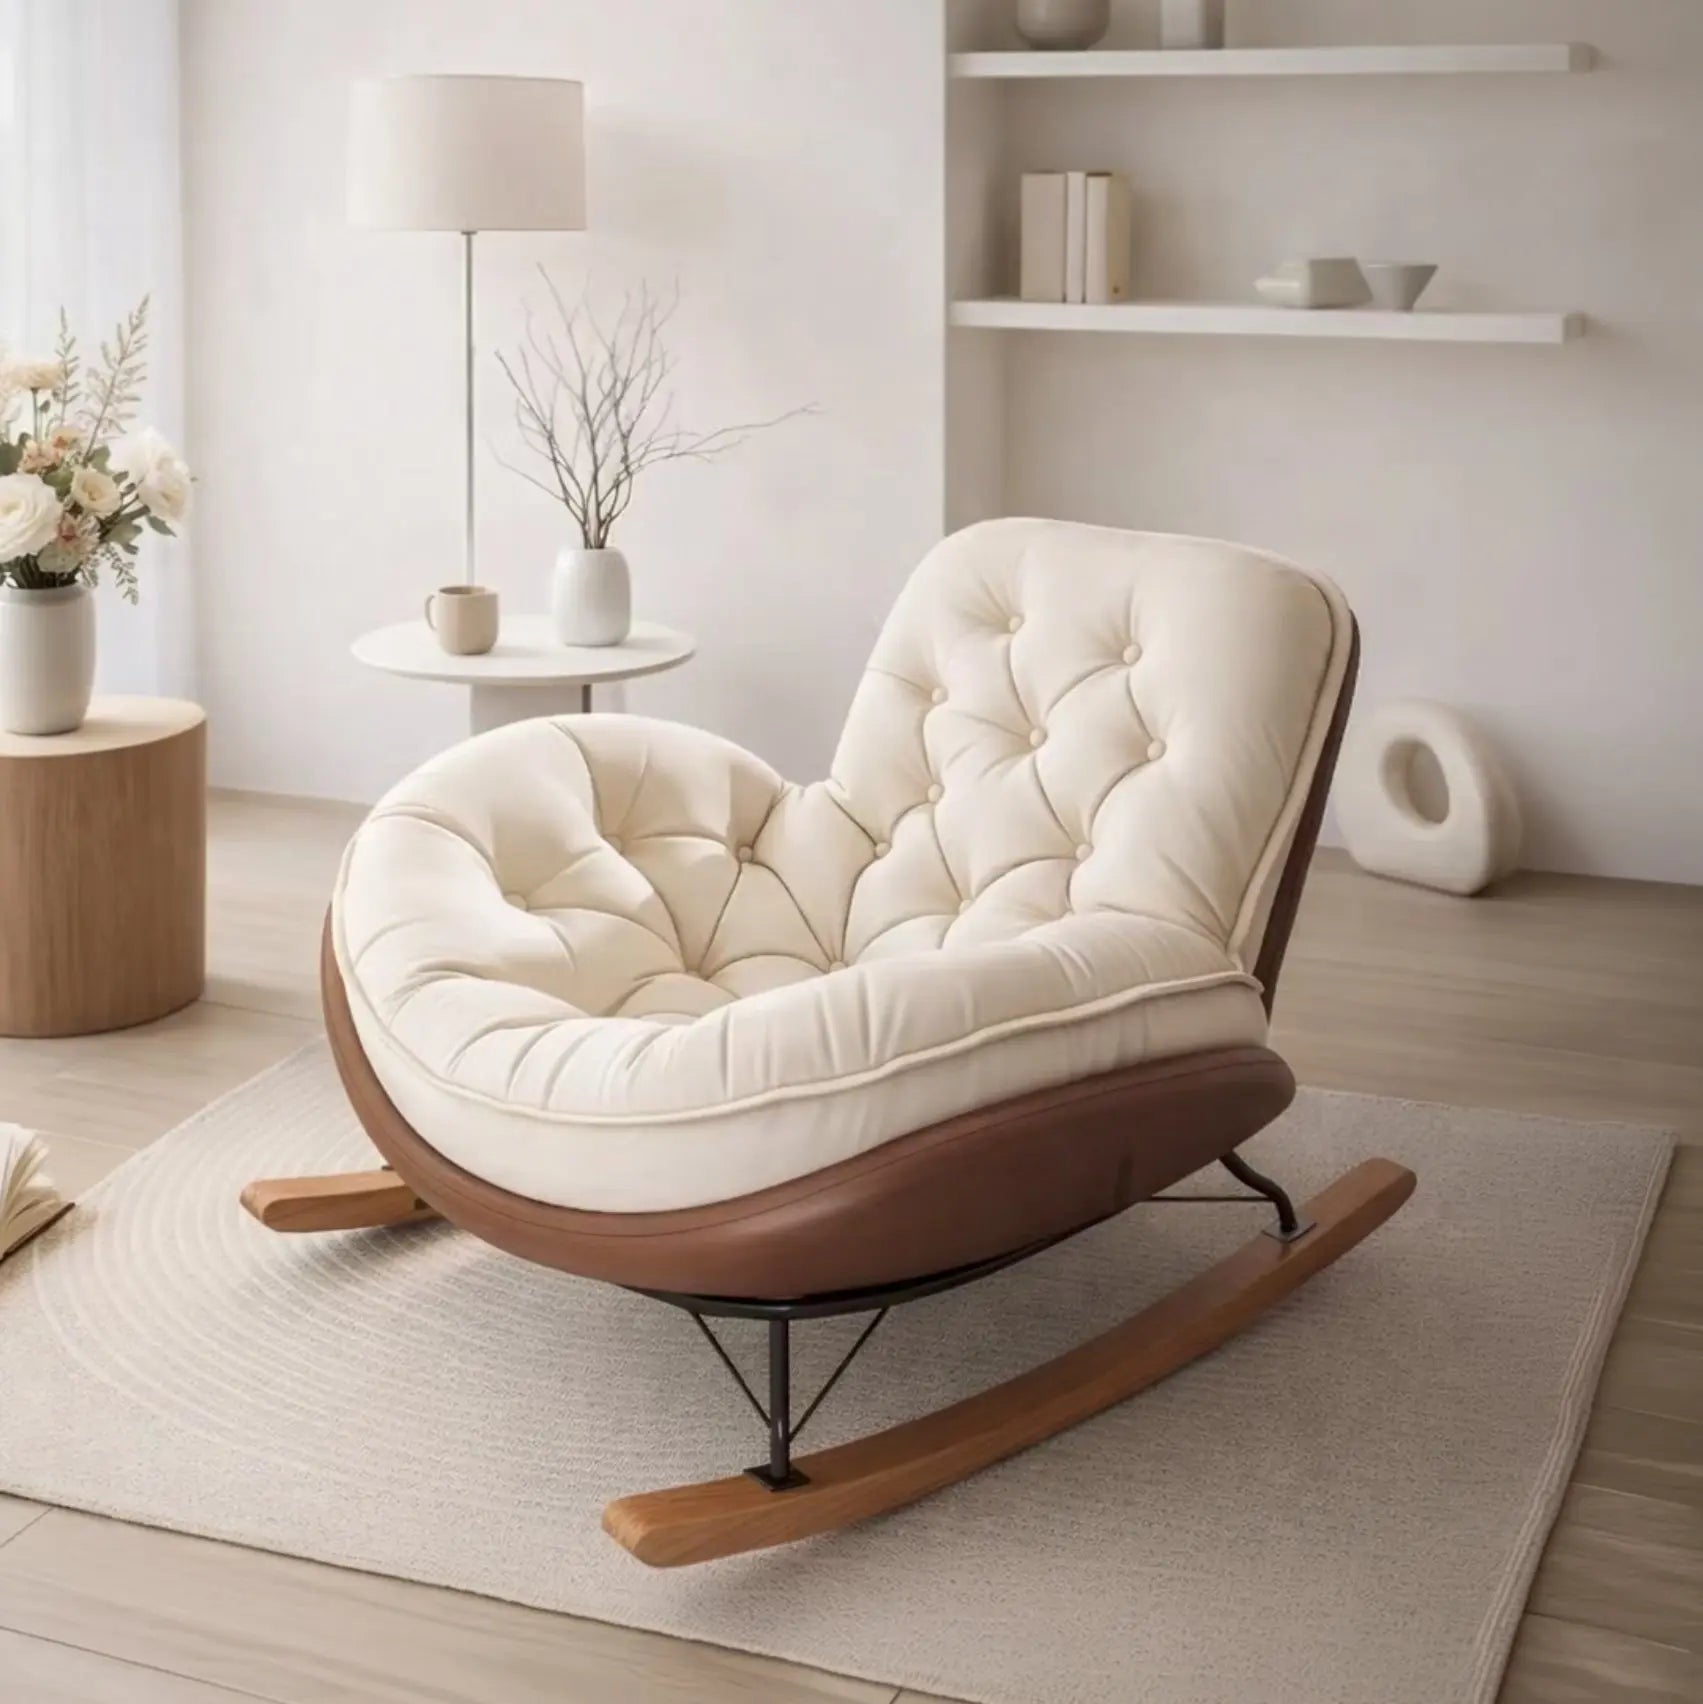
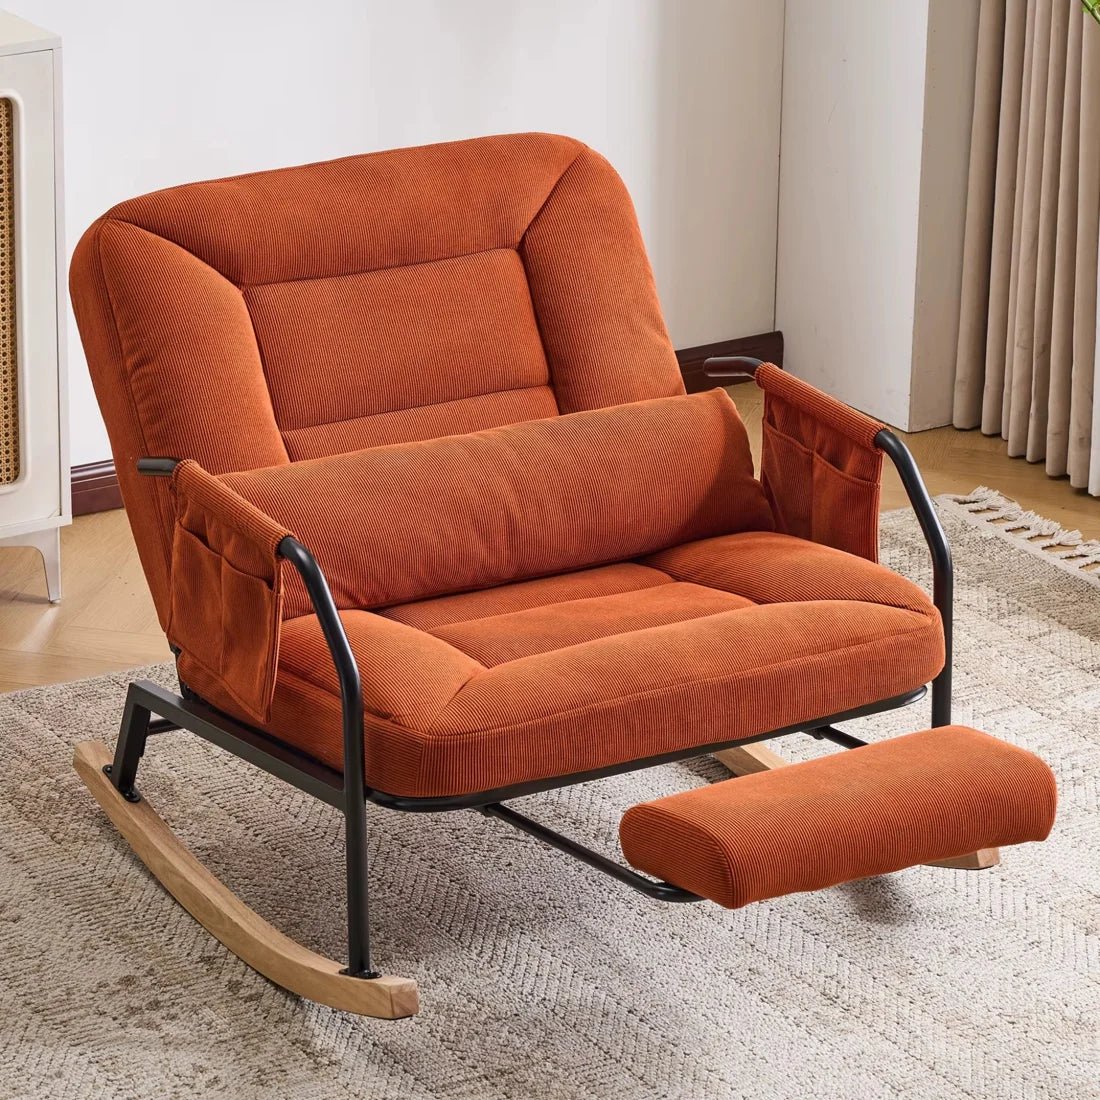
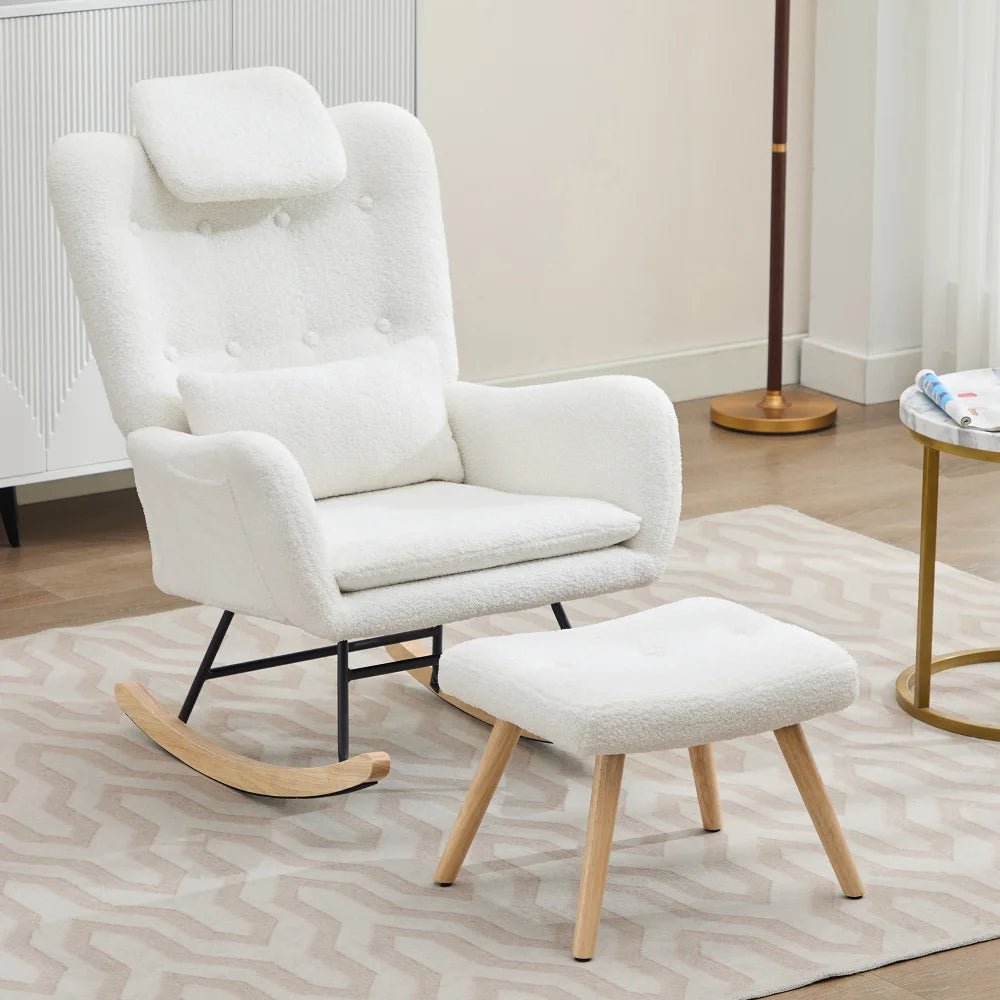
- Model with footrest: more complex, very popular for relaxation and cozy interior design
- Outdoor model: made of treated teak or exotic wood, with weather-resistant stain finishes—perfect for a wooden patio or sunroom
Regardless of the model, the principles remain the same: quality of the frame, careful woodworking, rigor in sawing and joinery.
Build or buy a rocking chair?
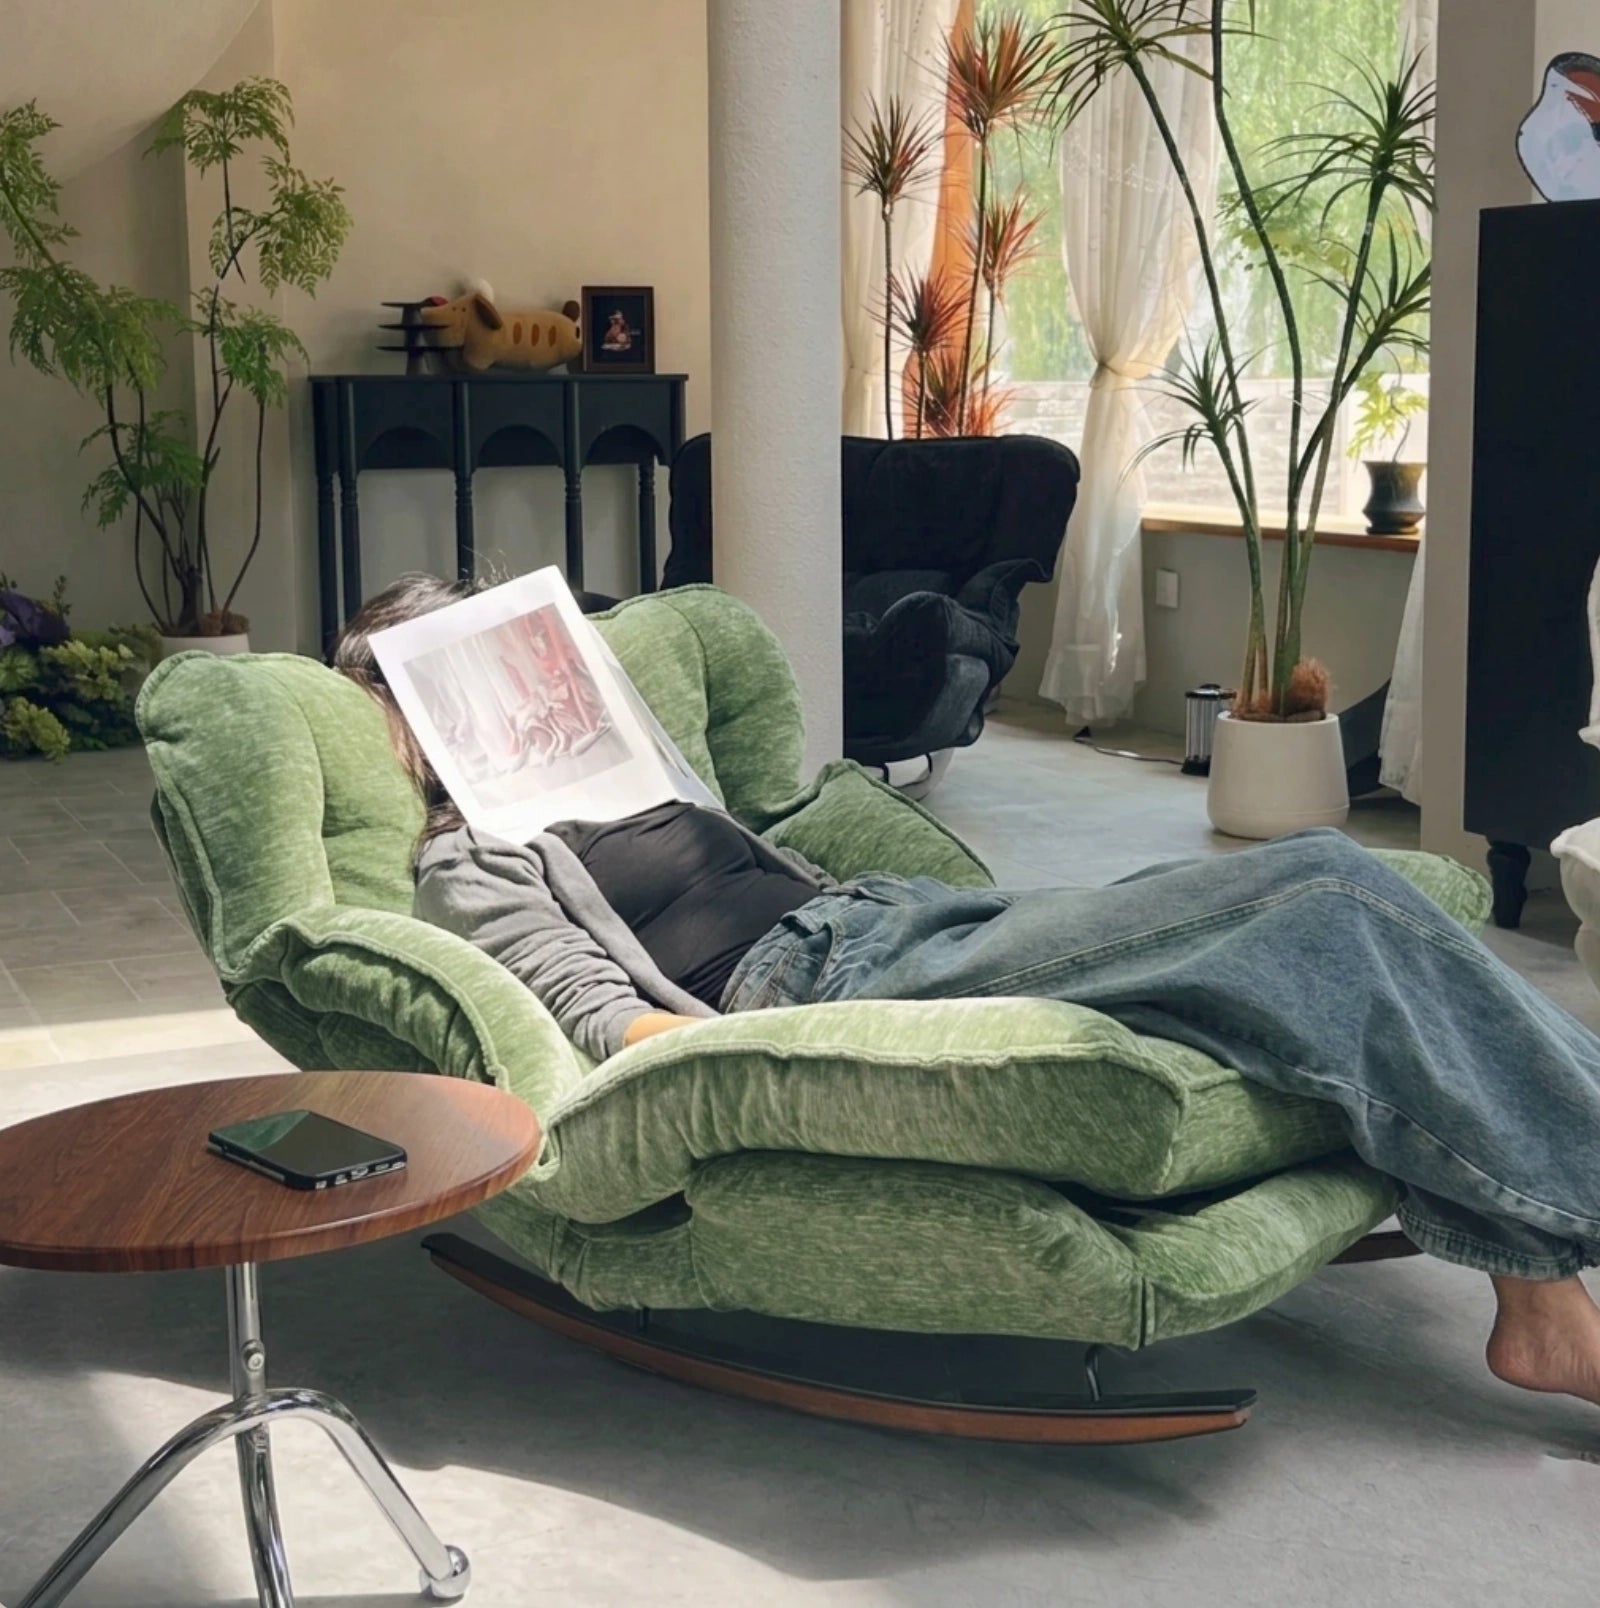
Building a rocking chair is a rewarding experience, but it requires time, tools, and real precision in carpentry.
If you're looking for the comfort of rocking without the sawdust on the floor and without spending hours in the workshop, it might be wiser to opt for a ready-made model designed to last.
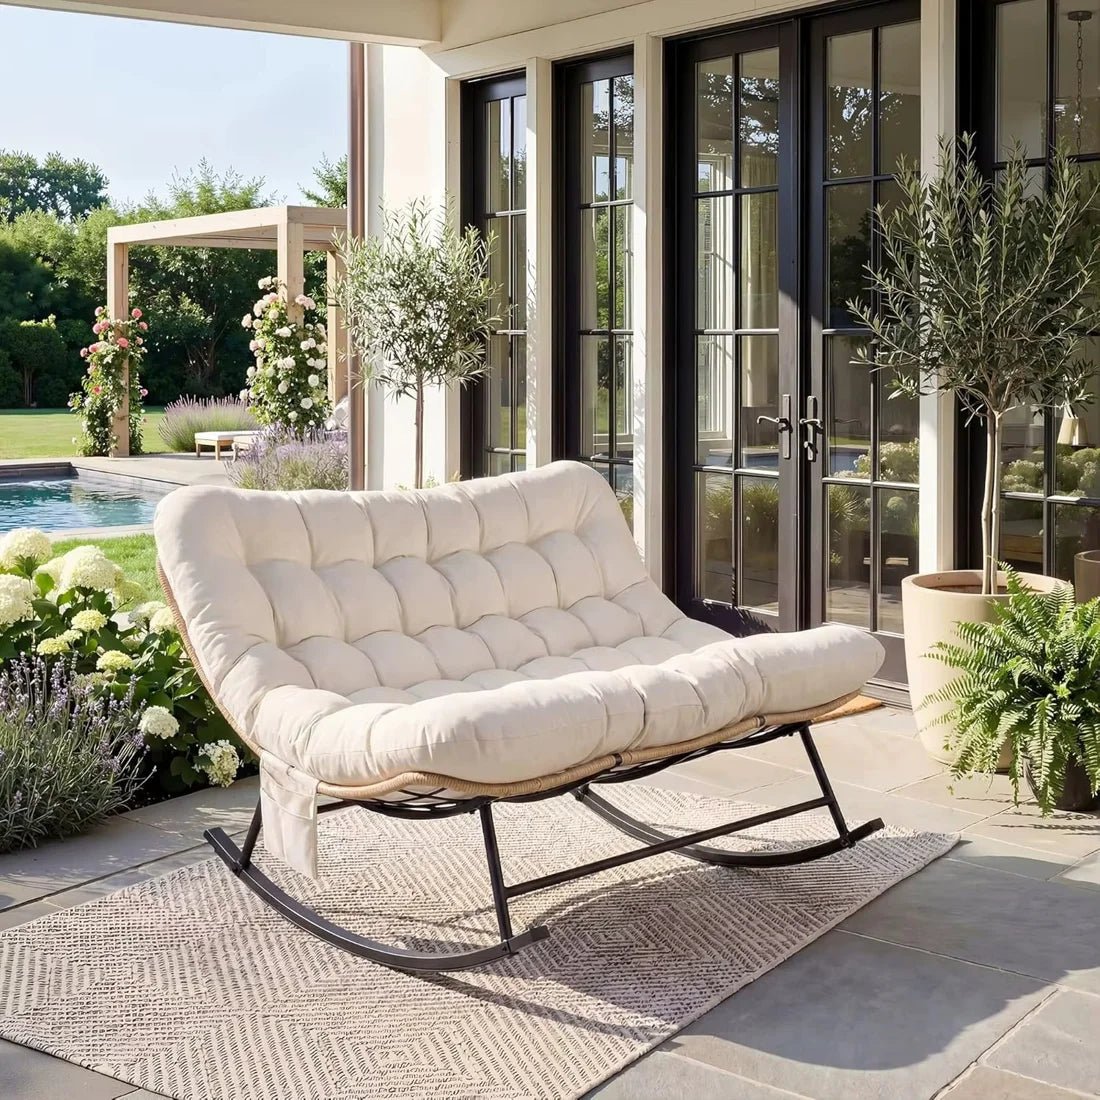
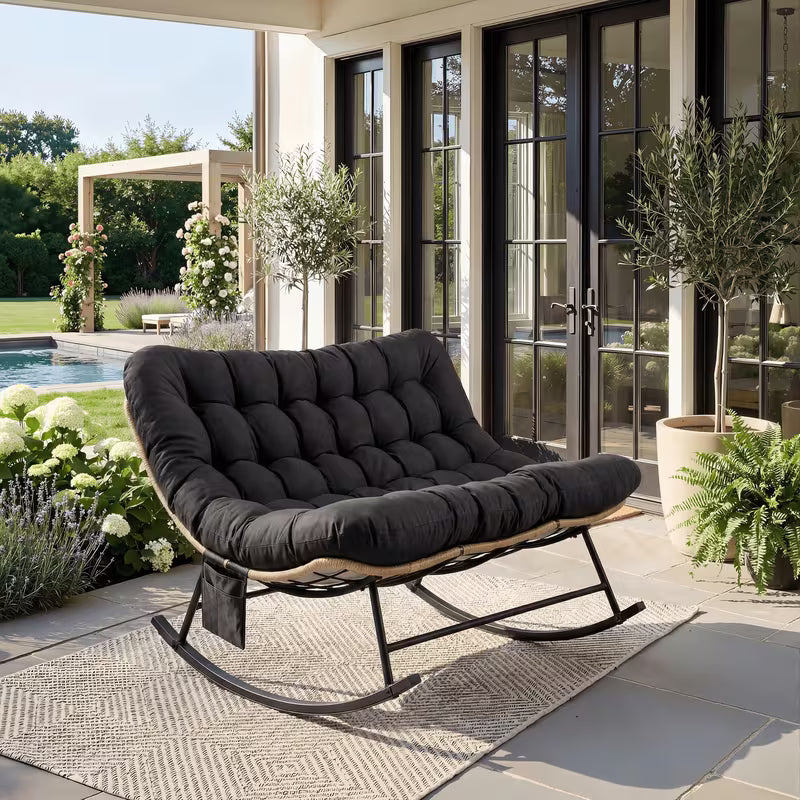
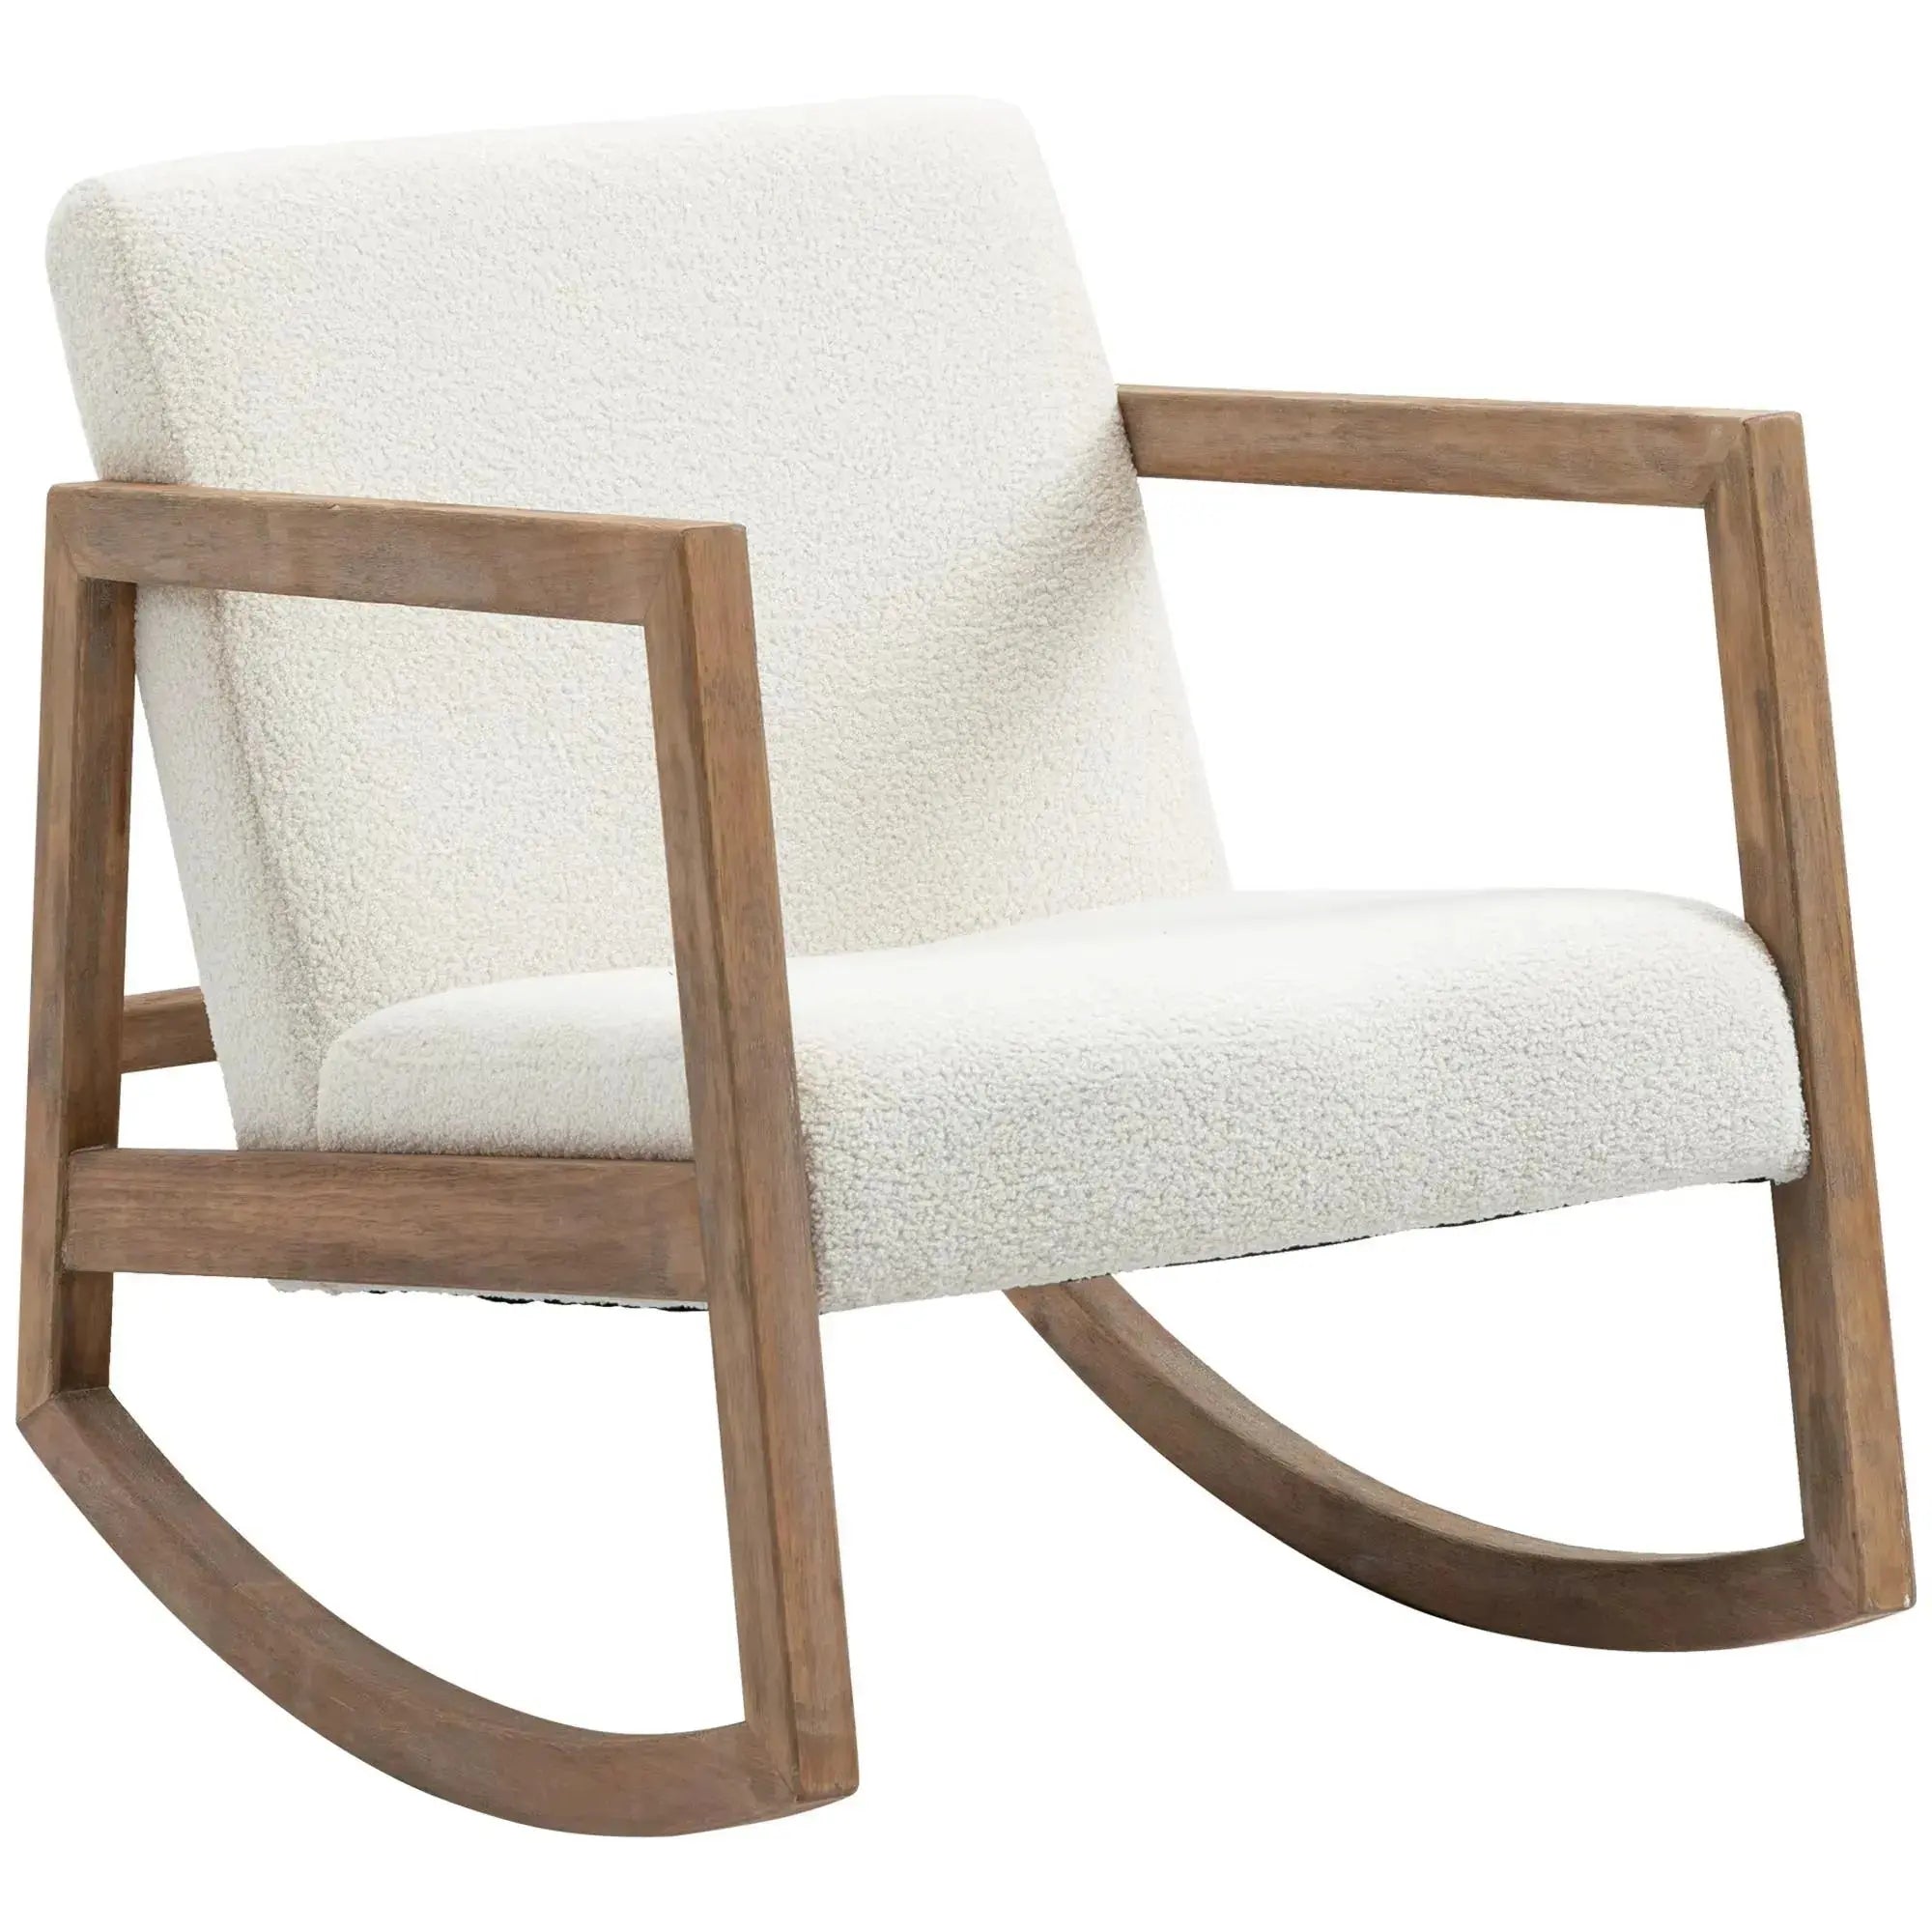
Discover our Oscille rocking chairs
At Oscille, we design wooden rocking chairs that combine comfort, durability, and aesthetics.
Each model is designed to offer smooth, creak-free rocking and an ergonomic seat that is comfortable for daily use.


Leave a comment
This site is protected by hCaptcha and the hCaptcha Privacy Policy and Terms of Service apply.